|
Graphic Design I Syllabus
|
Sketchbook / Journals
|
How to Videos
|
Graphic Design Bootcamp
|
What is graphic design?
Introduction Video to the Field of Graphic Design Total Time Allotted: (28 minutes) 14-Minute Video Clip, 14-Minute Activity |
|
Discussion & Writing Activity:
DO NOW: In your journal write down the date and: 1. Write down your own definition of what you think graphic design is. 2. Write down one example of good graphic design from our town. 3. Write down the elements of graphic design: a. contrast b. repetition c. alignment d. proximity or closeness e. color f. white space (WATCH VIDEO) 4. Gather a few magazines and locate: -1 example of an advertisement or design that shows repetition -1 example of an advertisement or design that shows usage of a color theory Cut them out and tape them into your journal with the appropriate labels/terms. |
|
Basics of Graphic Design, Pt. 1
The elements and principles of art applied to the world of graphics. Total Time Allotted: (12 minutes) 6-Minute Video, 6-Minute Activity |
|
Discussion & Writing Activity:
DO NOW: In your journal write down the date and: (WATCH VIDEO) 1. Gather a few magazines and locate: -1 example of an advertisement or design that shows simulated texture. -1 example of an advertisement or design that shows strong usage of line. Cut them out and tape them into your journal with the appropriate labels/terms. |
|
Basics of Graphic Design, Pt. 2
Layout and composition is the foundation of graphic design. What do I put where and why? Total Time Allotted: (12 minutes) 5-Minute Video, 7-Minute Activity |
|
Discussion & Writing Activity:
DO NOW: In your journal write down the date and: (WATCH VIDEO) 1. Gather a few magazines and locate: -1 example of an advertisement or design that shows the use of alignment through an invisible grid. -1 example of an advertisement or design that shows strong usage of hierarchy. Cut them out and tape them into your journal with the appropriate labels/terms. |
|
Basics of Graphic Design, Pt. 3
Images. How should a designer use them? Total Time Allotted: (13 minutes) 6-Minute Video, 7-Minute Activity |
|
Discussion & Writing Activity:
DO NOW: In your journal write down the date and: 1. What is a stock image? 2. What is a major problem with only using generic stock images as a designer? 3. 4-qualities that are MUST HAVES for any image you use: a. sharp b. clear c. no distortion d. high-resolution 4. Describe raster format? 5. Describe vector graphics? |
|
Basics of Graphic Design, Pt. 4
Typography. How should a designer use fonts and font treatments? Total Time Allotted: (13 minutes) 6-Minute Video, 7-Minute Activity |
|
Discussion & Writing Activity:
DO NOW: In your journal write down the date and: (WATCH VIDEO) After video answer in your own words: 1. What is kerning? (space between..._____________) 2. Describe the difference between a serif and san-serif font type. 3. Why would you want to limit yourself to one or two fonts per project in addition to a display font? 4. Describe the importance of hierarchy with the use of fonts. 5. What is leading? (space between...____________) |
|
Basics of Graphic Design, Pt. 5
Putting it all together to create a design and a visual identity (brand identity). Total Time Allotted: (13 minutes) 6-Minute Video, 6-Minute Activity |
|
Discussion & Writing Activity:
DO NOW: In your journal write down the date and the terms: -logo -color -typography -images (WATCH VIDEO) After video answer in your own words: 1. What are two brands that really stand out to you. List both and describe what types of colors, fonts, images, etc. make those brand identities stand out to you so much. |
|
Pre-Assessment Challenge:
You will be given 5 minutes to get an art laptop and get logged in. You will be given 20 minutes to open the application 'Serif DrawPLUS' and create an illustrated image of a penguin standing in snow with an iceberg in the background. Total Time Allotted: 25 minutes |

|
Assessment Directions:
You will not likely complete your whole work in this time, this assessment is graded upon your attempt to apply your current level of design and software knowledge. You may have to test out different tools to see what will work best for this task. Try your best. You are assessed only that you try. Assessment Note: Assessment is graded on growth over time and mastery of skills. Students are expected to progress 1 or more levels by the end of the 9-Week course using this assessment again as a part of the final exam in the illustration section of the exam. Initial skill level scores: Level 1 - Not Yet Proficient Level 2 - Average Level Proficiency Level 3 - Accomplished Level Proficiency Level 4 - Advanced Level Proficiency |
|
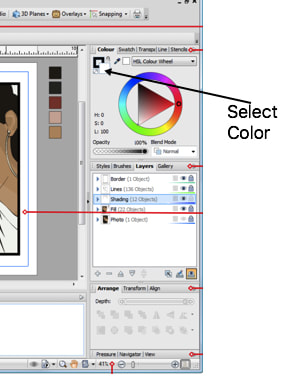
Basic Skills in DrawPLUS:
This unit will introduce you to how to use basic graphic design and illustration tools. A number of small practice works will be completed during this unit and should be saved in a .dpp (DrawPLUS) format to your h-drive AND completed assignments for grading should be exported as a JPEG and uploaded to Google Classroom in the appropriate assignment folder. It is imperative that you learn to use these tools at a basic level so that you will be able to complete the illustration, films, and photography projects required in this course. |
Basic DrawPLUS Skills Lessons
http://www.serif.com/appresources/DPX5/Tutorials/en-us/drawplus.htm This section contains the following:
|
Graphic Design I - Major Units of Study
|
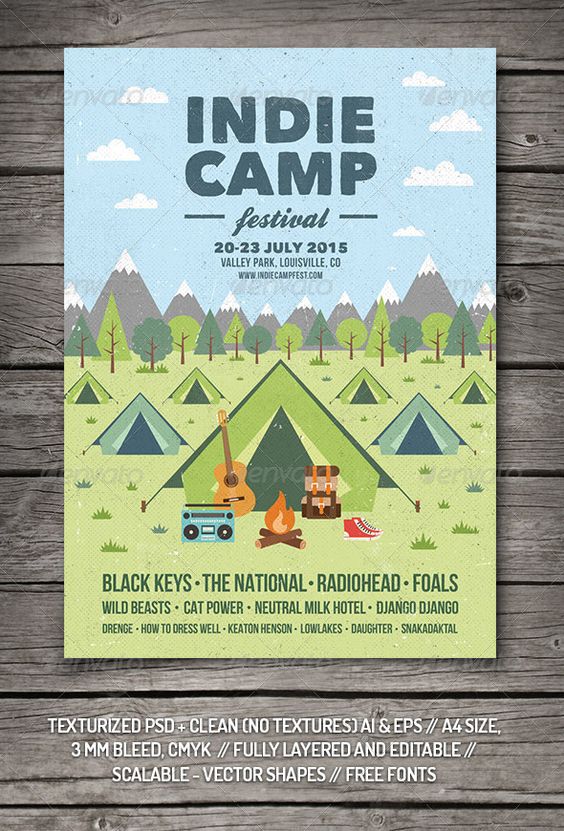
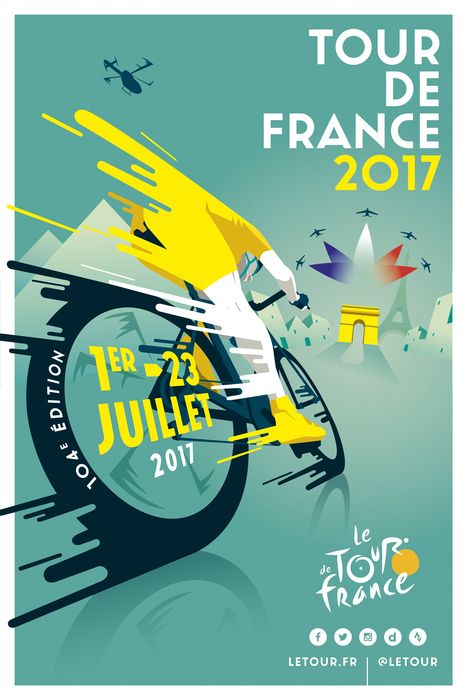
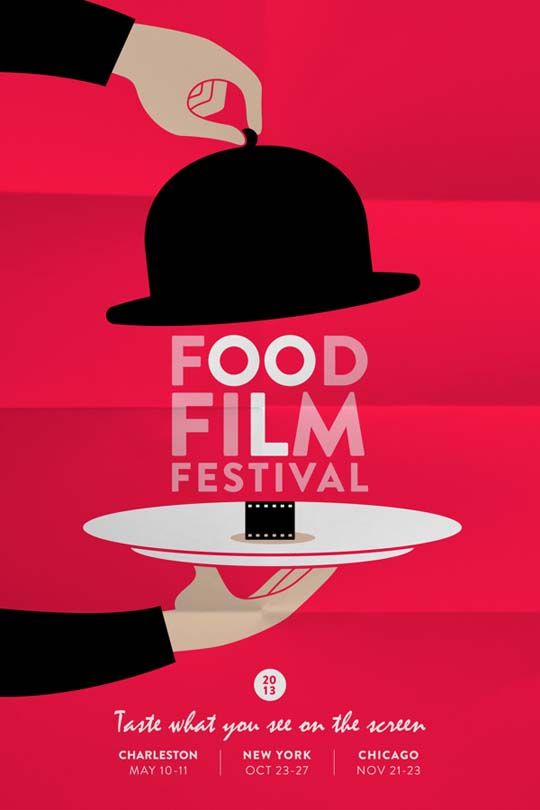
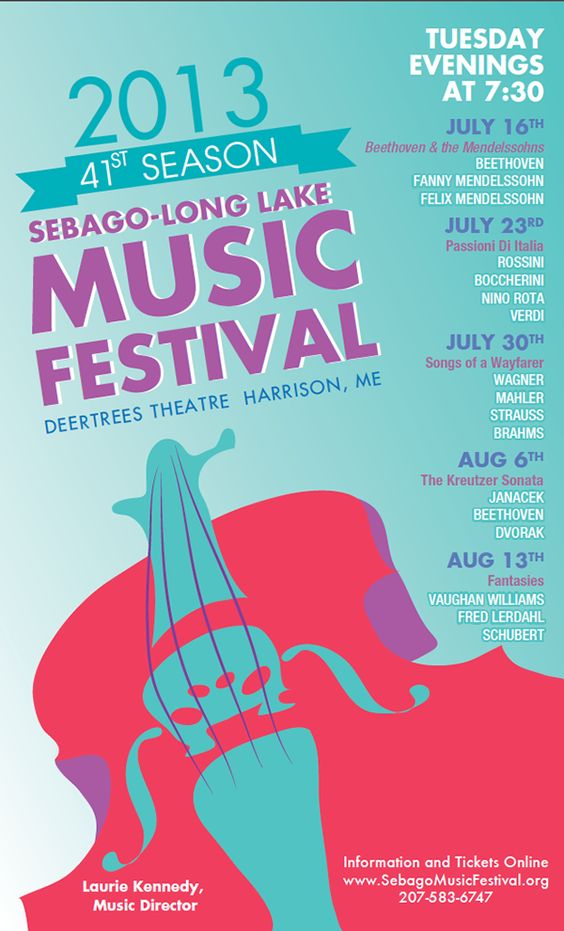
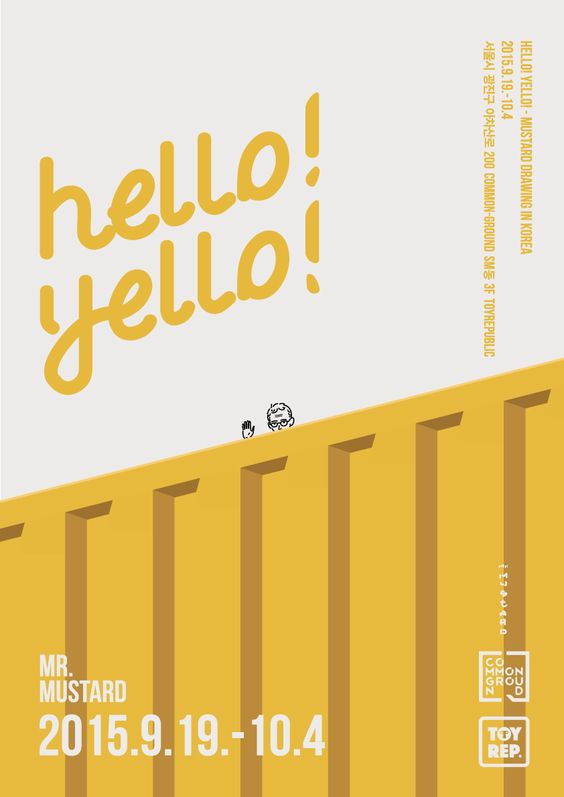
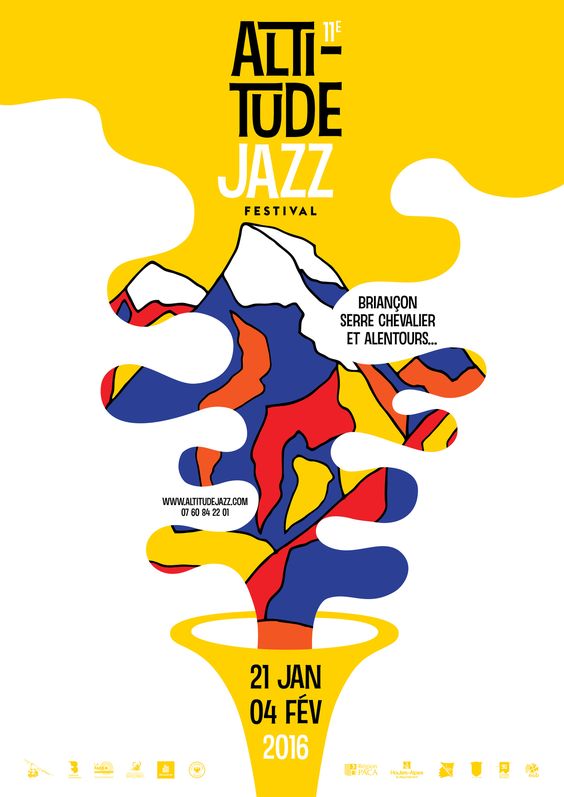
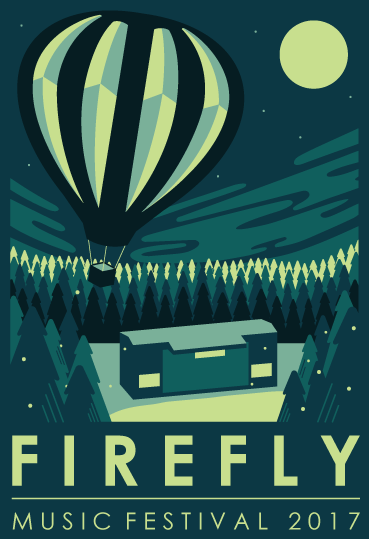
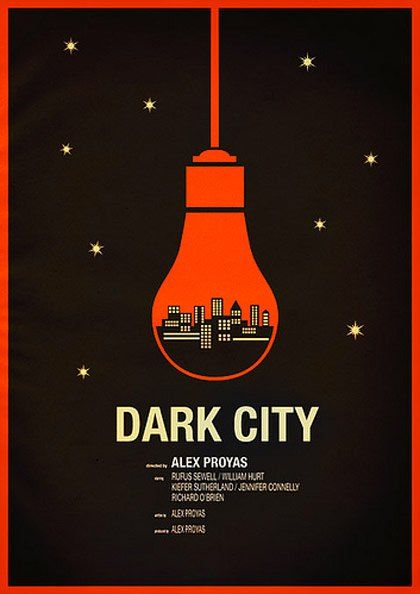
Unit #1: Illustration
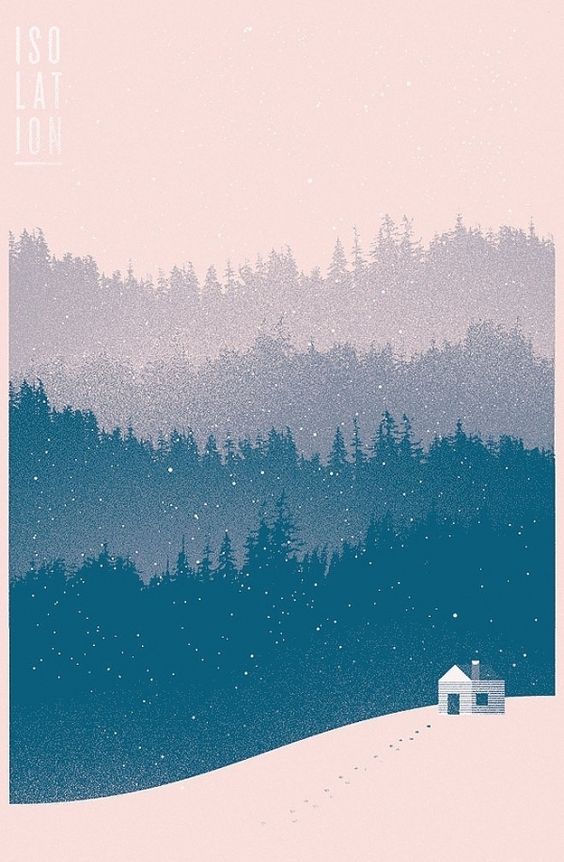
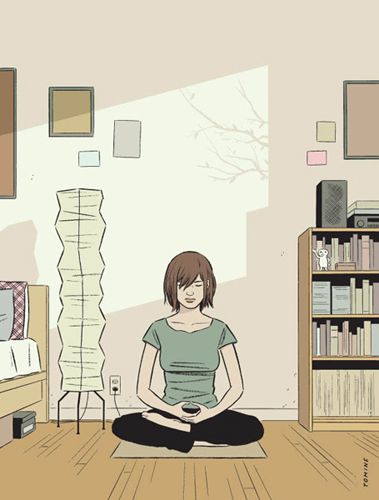
PROJECT: Option 1: Music Festival Poster Option 2: Illustration of Person / Place / Animals / or Creatures Option 3: Word Illustration Poster (larger scale) (image composed of text) Program: Serif DrawPLUS Project Length: ~2 Weeks, 8-9 Class Days Parameters: All logos must be re-designed if a current band(s) or major event already has a logo. A word illustration must be complex, see the example of 'isolation' below. Word illustrations should include the word and a saying related to the word as well in order to demonstrate skill with use of typography. All designs MUST use hierarchy through the font treatments. All designs MUST have a meaning and be connected to one of our dept.'s art themes other than 'technical & functional'. No copying off of the web will be allowed. Music Festival/Event Posters: Size of document should be 11 x 14 or larger at 300 DPI. Word Illustration: Size of document should be 13x19 or larger at 300 DPI. |

Making Meaning in Graphic Design:
What could this design mean? Perhaps, the importance of speed, endurance, agility, the prestige of the event, a sense of place or location. |
Project Details:
Major Elements: 1. Typography/Fonts 2. Color 3. Hierarchy (fonts & colors) 4. Use of Grid as Design Basis 5. Image (illustrated) Minor Elements: 1. Image (photographic) 2. Social Media or Other Logos Finished Products: 1. Must be in vector format, not raster. 2. Festival or Event Poster -and- Festival or Event Postcard -or- Word Illustration Poster w/ Saying -and foreground/middle/background with significant complexity. 3. Must be turned in twice. -Once in .dpp format and -Once in PNG format. |
|
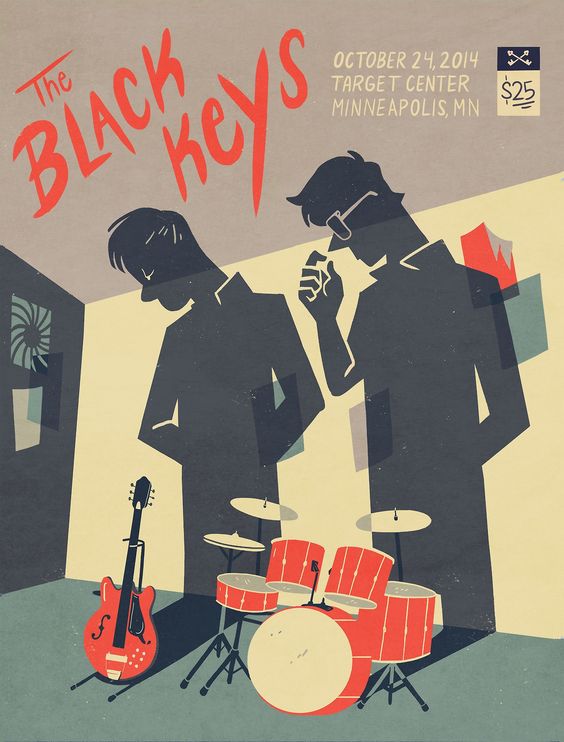
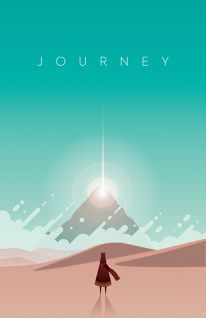
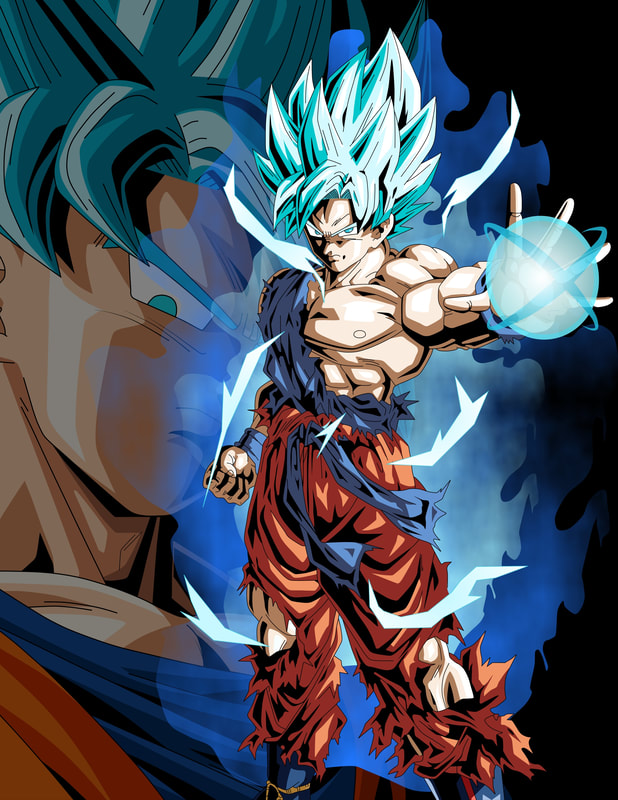
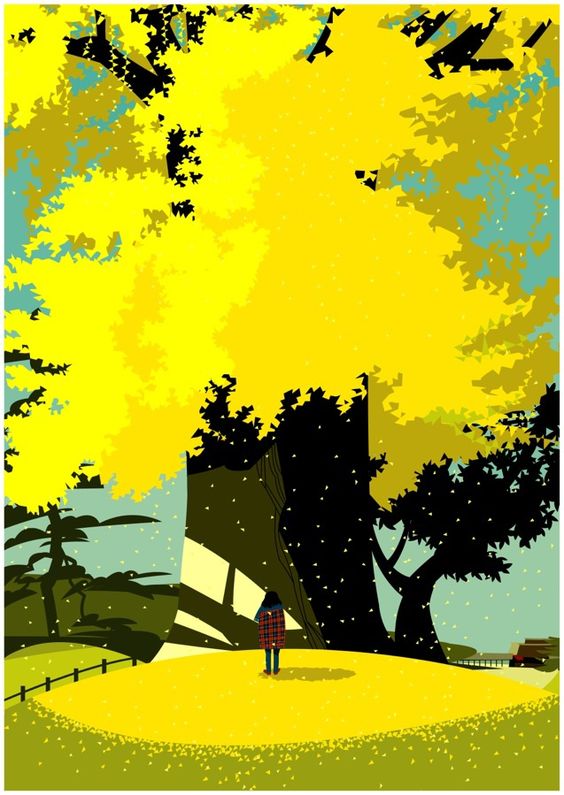
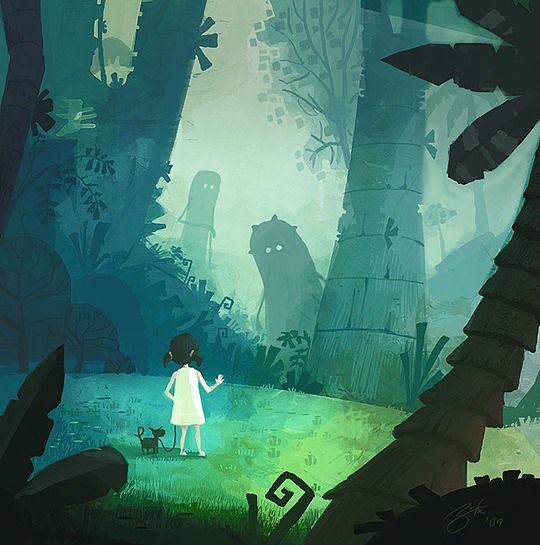
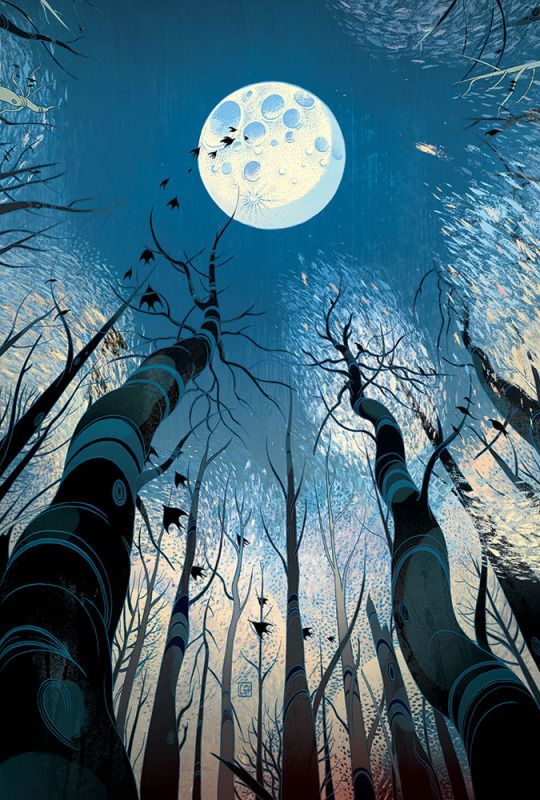
Major Project #1 Examples:
Examples of Quality/Complex Band & Event Posters and Word Illustrations That Are Highly Graphic and Involve Typography |
|


|
Unit #2: Basic Photo Editing and Digital Painting
Project: Digital Painting Composite in Pixlr (many images cut apart and assembles into a new composition, then turned into a digital painting) |
Pixlr Digital Painting:
(in this project you will create a detailed sketch from 3 to 5 different photographs, then scan the sketch and turn it into a painting using the Pixlr brush tools with various blends and mixes of tones and hues. |
Basic Photo Skills:
Pixlr Editor (free online) DESIGN BASICS LESSON I: Choose a photo off the web, save the photo to the laptop. Practice resizing and cropping the image to a smaller version than the original photo. DESIGN BASICS LESSON II: Create a new document and practice using layers. -Find a landscape photo from the web, save the photo and open it in Pixlr. -This photo will be on it's own layer. Make a new layer for text and choose a famous quote that you feel would fit well with this photo. Type in this quote & choose a font that compliments the photo, also choose a font color that compliments the photo. You might choose an analogous color or a complimentary color for the font color. -When complete, go to File > Save -Next, name your file, make sure JPEG is the file type, and set the quality to 100%. -Save this file to your computer/laptop and then go to Google Classroom to turn it in. DESIGN BASICS LESSON III: Create a new document and practice cutting things out using the magic wand tool and lasso tool. -Choose a photograph from the web with a person in it and a background that is not highly 'busy', (i.e. a more plain background). -Open this photo in Pixlr and remove the background from the photo, leaving only the person. -Choose a second photo from the web and open this photo in Pixlr. This photo should be a background photo very different from the original background. In your document with the person, make a new layer and put the new background behind the person. Turn this document in through Google Classroom the same way you did for the prior lesson. |
Unit #3: Graphic Design for Business
|
DESIGN FOR BUSINESS - LESSON I:
Design a Logo or Badge for Business Use |
Below: Creating a Logo from SCRATCH
Below: Creating a Logo from a PHOTOGRAPH
|
Look up two businesses in town that you would be interested in re-designing. Find a current logo of one and download it, then open it in DrawPLUS.
Based upon the drawing processes shown in these instructional videos, for this lesson you will re-design a logo of a business in town in a way that represents the feeling or mood associated with the business or represents the product or services that they provide. Your re-design should be logical; make sense with what that business provides. Turn in your logo re-design in Google Classroom in the assignment dropbox. |
|
DESIGN FOR BUSINESS - LESSON II:
Introduction to an Advertising Campaign |
What is an Ad Campaign?
|
|
Unit #3: Basic Photo Editing and Digital Painting
PROJECT: Option 1: Illustration in a Polygon Style or Other Approved Style Option 2: Digital Painting Based Upon a Composite of 3+ References Program: Serif DrawPLUS Project Length: ~3 Weeks, 15 Class Days Parameters: All works 11x14 or 14x11. Works MUST have a meaning or message. You may use a photograph to re-draw from to create your subjects or characters. Your composition MUST contain at least 3 different photo references, you will not be allowed to simply duplicate 1 photo in an illustrated style. You develop originality and further deepen the meaning in your work when you assemble something new. Computer Illustration: Size of document should be 11 x 14 or larger at 300 DPI. |

|
Project #2 Details:
1. I can create a themed-illustration in a free-form manner that captures my subjects realistically (through shape and color) and has a strong message/meaning. Tool Skills: (pen tool *value through shapes* --or-- paint tool & brushes *value through blending*) -or- 2. I can create a themed-illustration through a polygon approach. and develop a strong visual message/meaning. Tool Skills: (pen tool *value through shapes and color using sharp-edged triangular line segments*) 3. I can meet these specific requirements: a. Close Up's MUST be highly detailed and fill in the entire composition. (min size 11"x14") b. Smaller subjects MUST entail a fully illustrated scene to give us a sense of place. (min size 11"x14") Finished Products: 1. Must be in vector format, not raster. 2. Must be turned in twice. -Once in .dpp format and -Once in PNG format. |
|
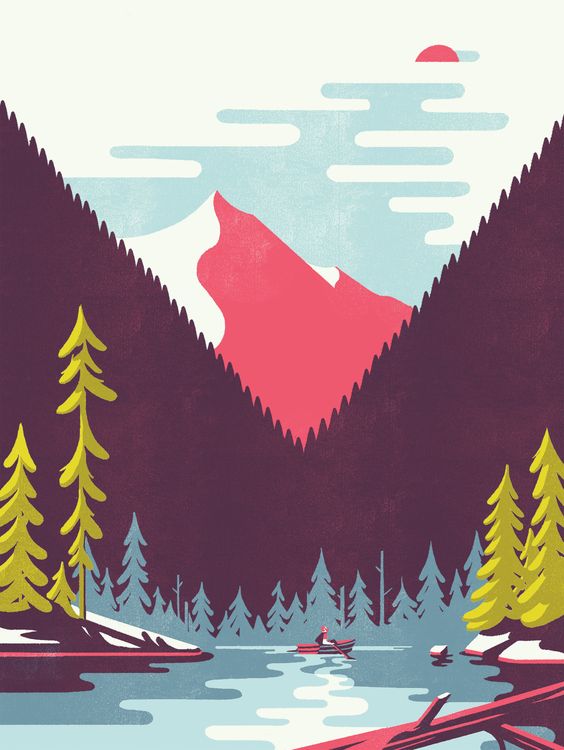
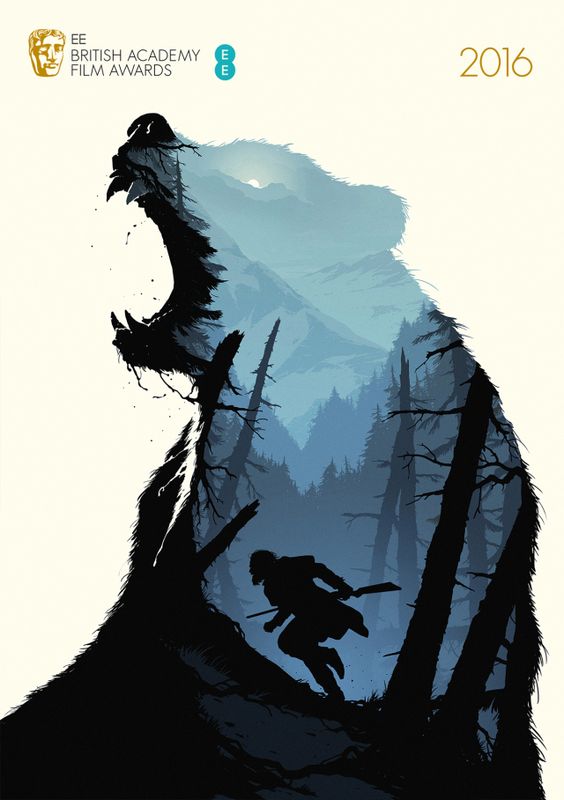
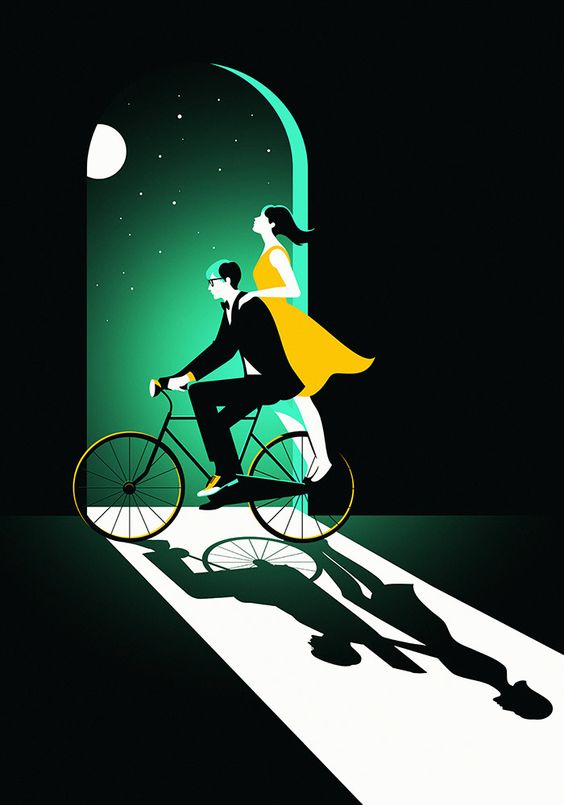
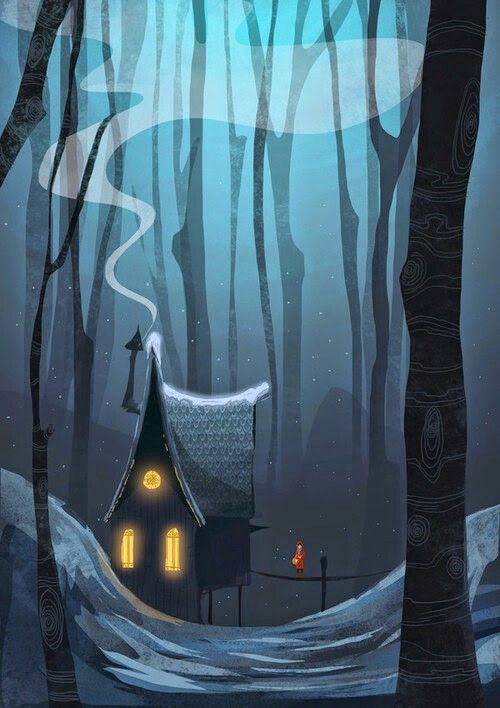
Major Project #2 Examples:
Examples of Quality/Complex Graphic Illustrations with an Implied Narrative (story or meaning). Printed examples shown in class as well. |
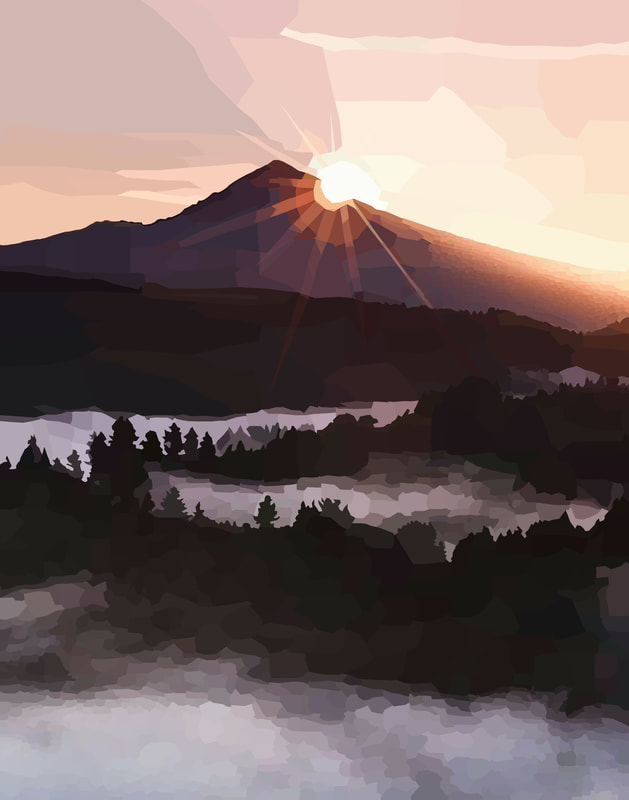
B. Grant, 2016
S. Maggert, 2018
|


|

|
Photography Bootcamp for Digital Artists & Designers
|
How do fine artists use photography?
Introduction Video to the Basics of Photography Total Time Allotted: (28 minutes) 27-Minute Video Clip, 5-Minute Discussion |
|
Discussion & Writing Activity:
DO NOW: In your journal, in the 'Other Assignments' section write down the date and: 1. Write down your own definition of what you think photography is. 2. Write down one example of what you consider to be a good photograph you have in your home. 3. Write down the major elements of cameras: a. single lens reflex b. aperture c. depth of field d. exposure e. shutter speed f. ISO (WATCH VIDEO) 4. In our discussion, define in your own words, each of the above terms. We will also be passing around a camera and reviewing the location of camera functions and how to adjust them. |
|
How can I use blur and motion creatively?
Introduction to the Basics of Night Photography (Motion Blur, Shapes, & Patterns) Total Time Allotted: (40 minutes) 40-Minute Class Activity using Darkroom |
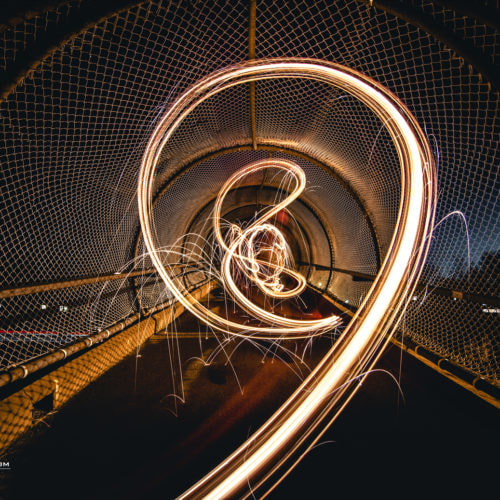
Above: Using one primary light source, walking from front of camera/tripod into the distance, creates a 1-point perspective effect as well as a flowing organic pattern of shapes. 15-20 second long exposure.
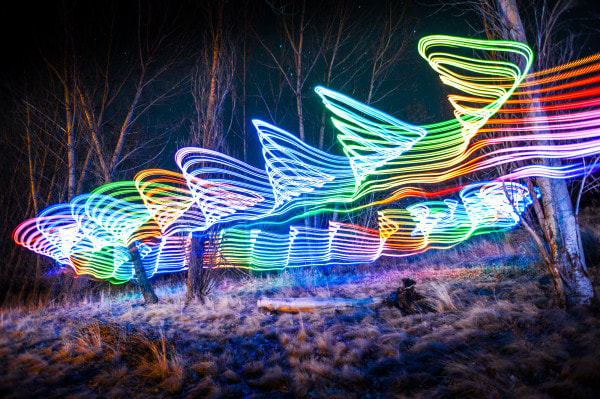
Above: 15 second long exposure.

Above: 4-5 second long exposure, perhaps a string of lights and physically moving the camera around.
|
Classroom Activity:
DO NOW: In groups of 2 (find a partner) you will use one of many different light sources in our darkroom to take a quick practice night photo similar to the third example photo within this short lesson. You will also learn how to apply a reflection to a photo (flipping vert./horiz.) to assemble a simple abstract photo-based artwork. WATCH THE HOW TO VIDEO (5 minutes) You will need to set your camera to the following settings, you can adjust or alter them to test and experiment. ISO Speed: 100 Aperture: between f5 & f11 Shutter Speed: between 4 & 10 seconds Focus: should be on manual! You may zoom in and out while moving as well. Write Down the Photo Editing Terms: Reflection: flipping the image Vertical: up and down Horizontal: left and right Adjustments: general term for altering a photo Contrast: range of light & shadow, + or - gray Brightness: darken or lighten, + or - gray Color Balance: altering levels of color-RGB Saturation: intensity of color vs. grayed out Clone Stamp Tool: blend and duplicate pixels ALWAYS WEAR THE CAMERA STRAP WHEN MOVING WITH A DSLR CAMERA! |
|
How to 'Draw with Light'.
Introduction to the Basics of creating an abstract light drawing or abstract photograph. Total Time Allotted: (20 minutes) 20-Minutes of Video Clips with Short Discussion |
WATCH THE HOW TO VIDEO
(5 minutes) You will need to adjust these camera settings so pay attention carefully! |
|
How to use PhotoPLUS software.
Introduction to the Basics of Editing and Altering Photos on the Computer Total Time Allotted: (15 minutes) 15-Minute Class Activity using Darkroom |
WATCH THE HOW TO VIDEO
(5 minutes) You will need to adjust these camera settings so pay attention carefully! |
